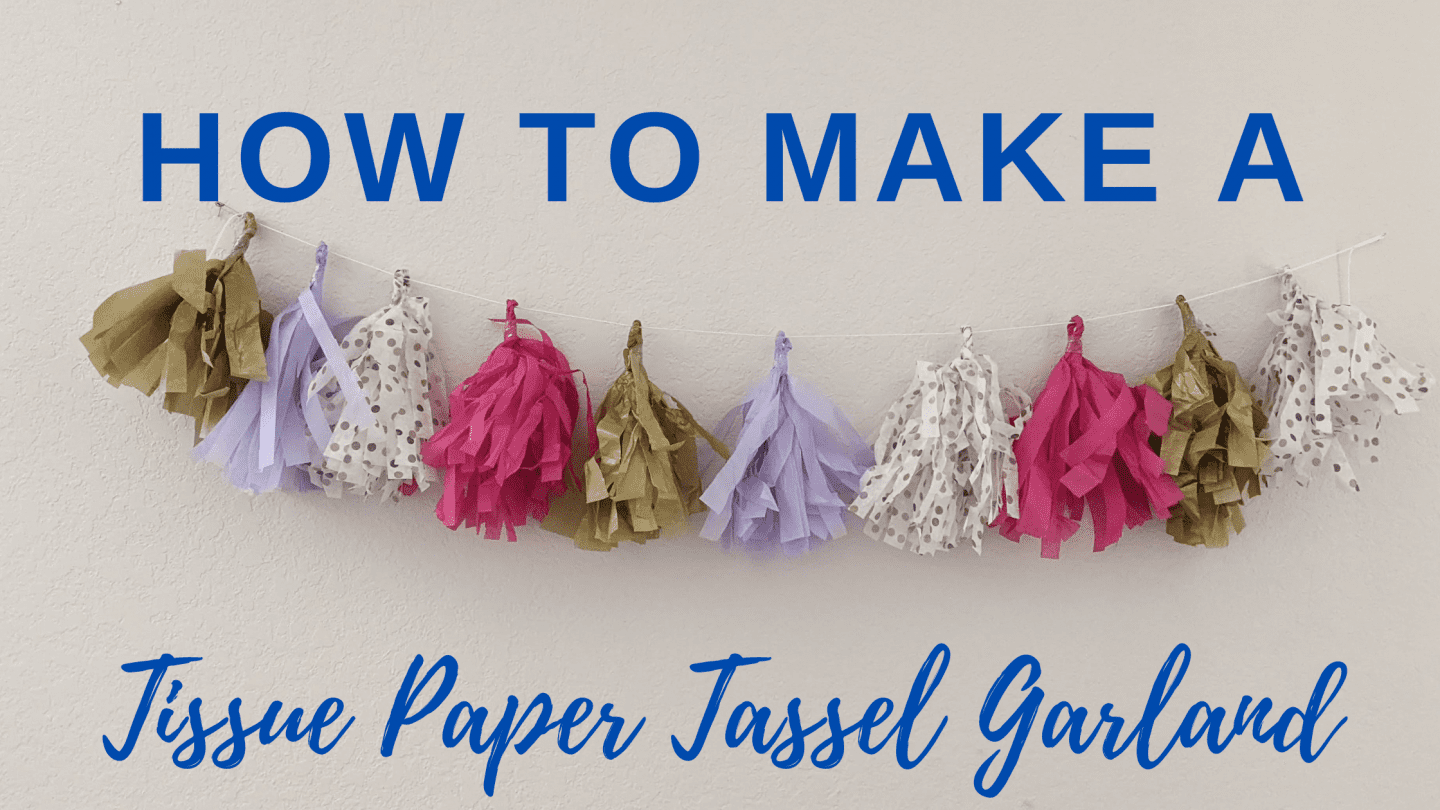
DIY tissue paper tassel garlands are so simple to make and can be a great way to decorate for your next party. I love that you can create your own color scheme. It is a cute DIY project to add some fun to your parties, shower, wedding, or office. You can also add in Mylar for some fun bling. You’re going to love this simple DIY tassel garland tutorial.

Be sure to check out these other party decoration tutorials for your next party, baby shower, or wedding.
How to Make a DIY Tassel Garland with Tissue Paper
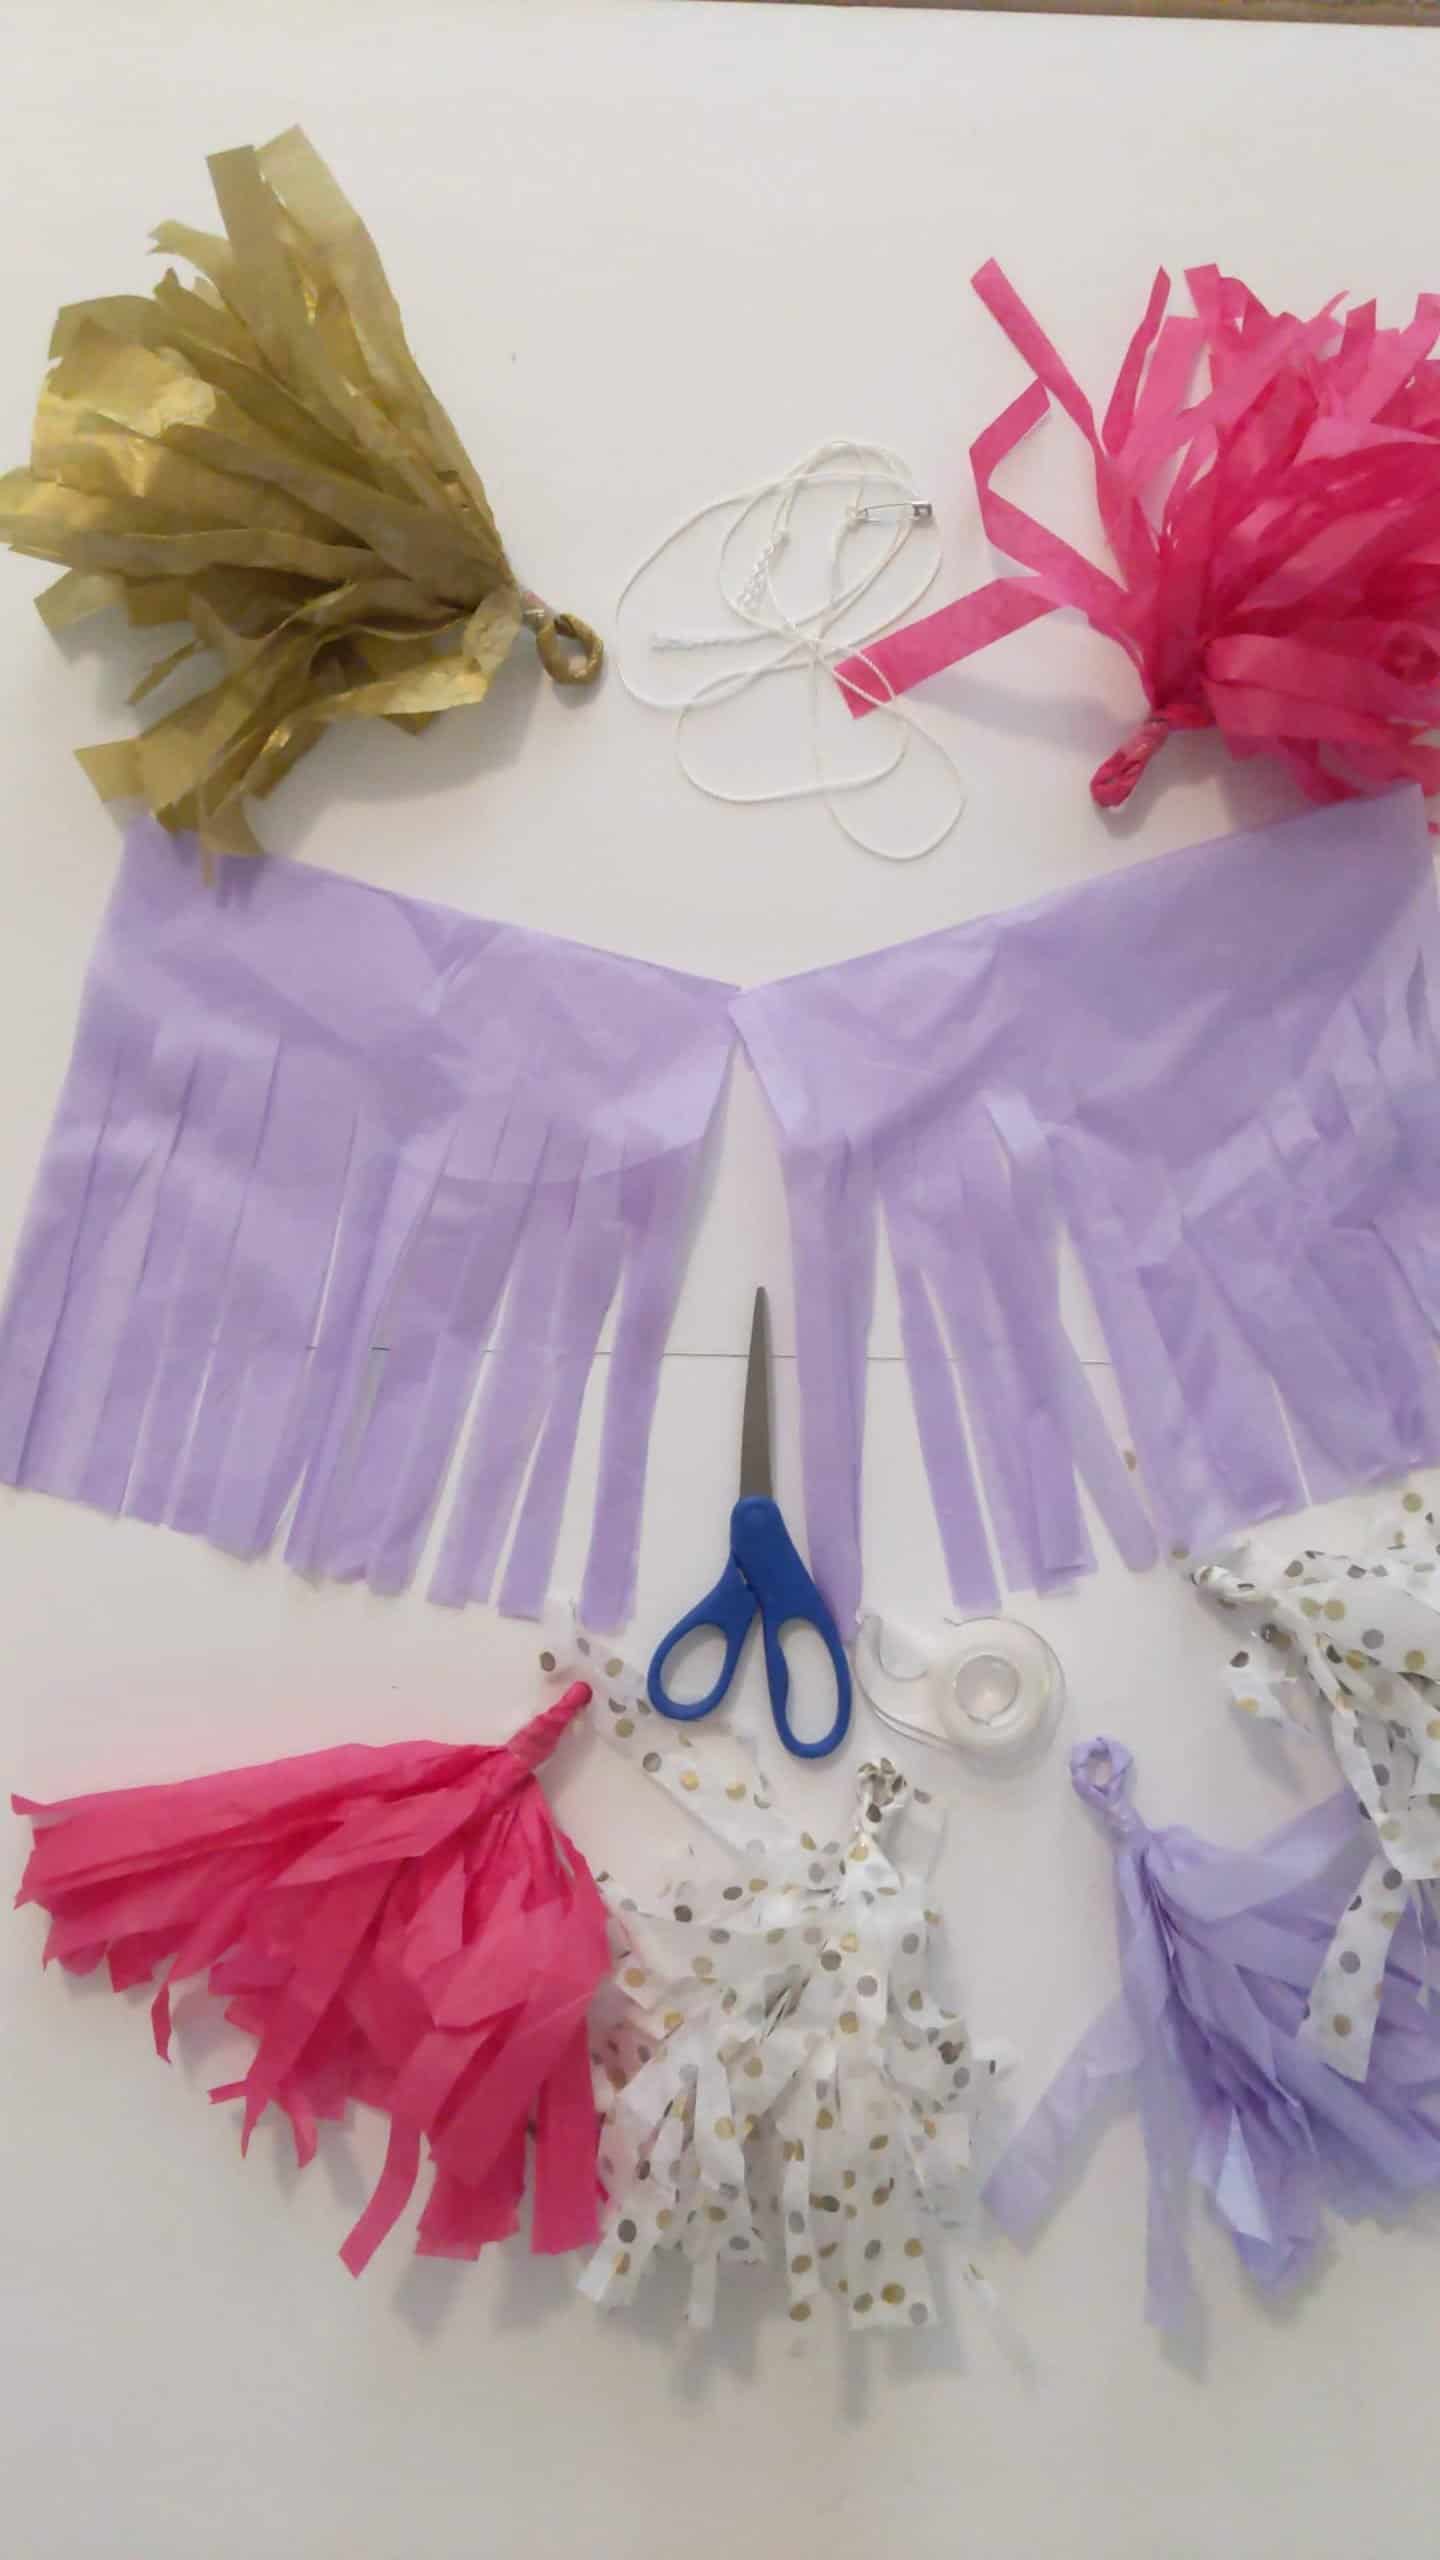
The supplies you’ll need to make a tissue paper tassel garland are:
- Tissue paper
- Scissor
- Tape or a glue gun
- Cord or ribbon to string the tassel to
Step One
To start making a DIY tassel garland, begin with one piece of tissue paper. One piece of tissue paper will make two tassels. You can make four out of one, but it won’t be as full.
Fold the tissue paper in half lengthwise. Then fold it in half widthwise.
Step Two
Next, cut your fringe starting from the bottom, unfolded side. Cut up to the top leaving a two inch section that is left uncut. Your strips can be as thin or wide as you’d like.

Step Three
Unfold the tissue paper and lay it flat. Cut the tissue paper in half if you want to make 2 full tassels or cut in 4 if you want them less full.
Step Four
Take one piece and start to roll the uncut center area lengthwise. Untangle the fringe as you roll it. Once you have rolled the tassel start to twist it in opposite directions until you make a loop at the top.
Step Five
Take a piece of tape to wrap around the section to secure the loop. You can use decorative washi tape or gold tape.
Continue making tassels until you have as many as you need for your tissue paper tassel garland.
Step Six
Once you have as many as you need string them on the cord. You can tie them in place or let them hang freely. It is up to you.
Once all the tissue tassels are on the cord, hang it up for everyone to enjoy.


