Who else loves the mosaic balloon number frames?! Although they aren’t completely new, they are pretty popular to decorate for an event. The good news is they are fairly easy to make and are budget friendly just like the Balloon Wall Mural.
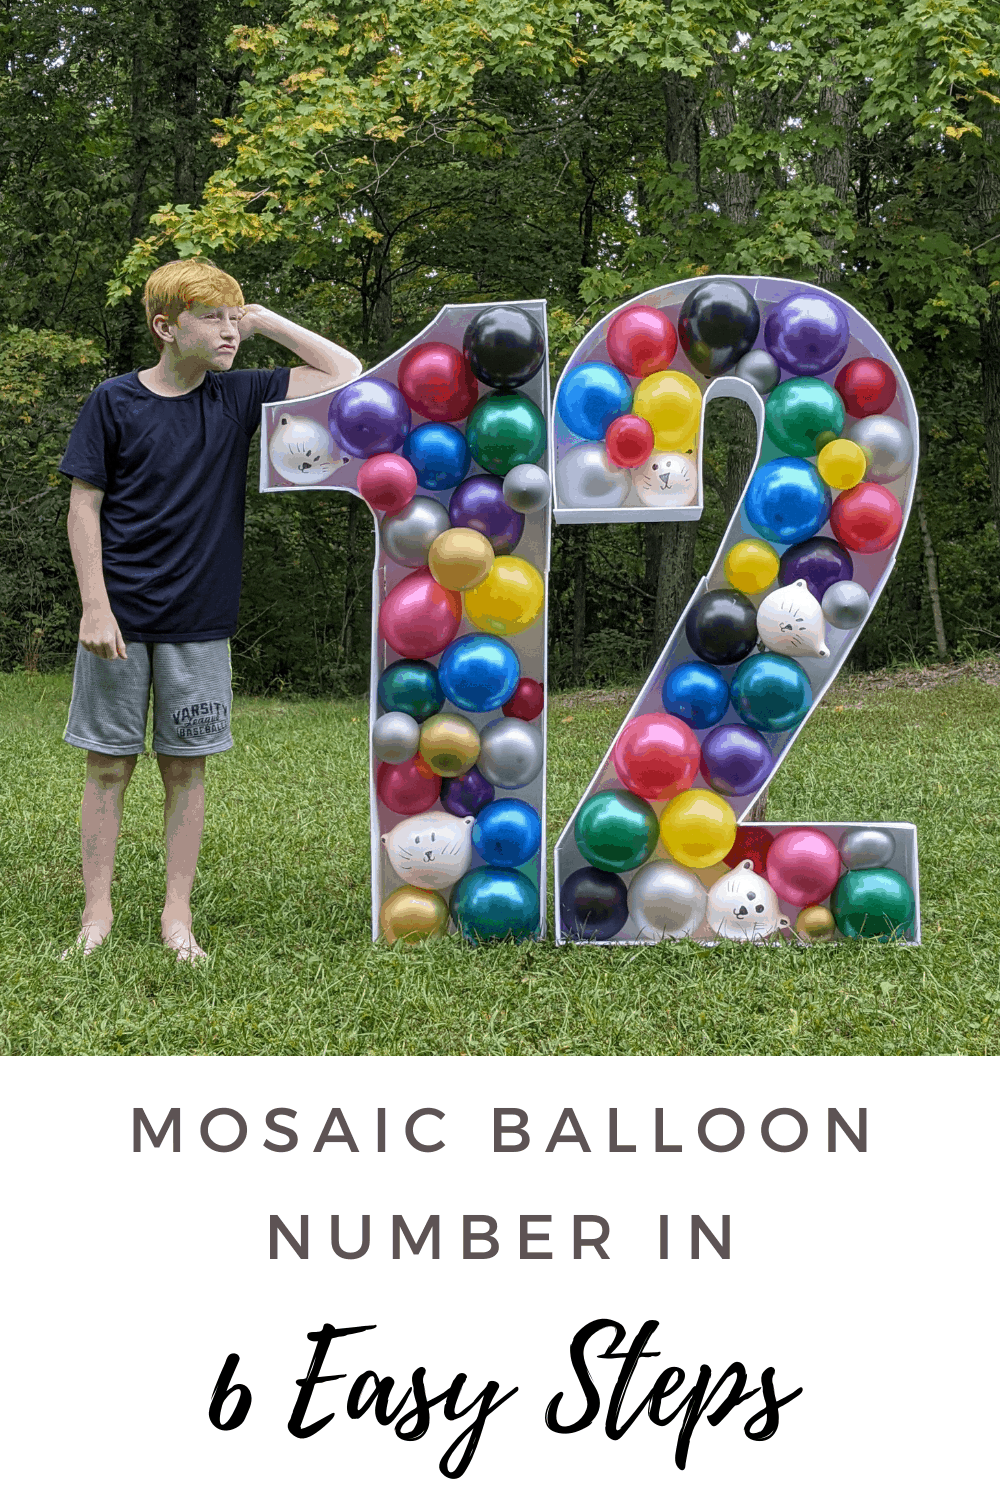
It took me an afternoon to create a number 12 mosaic balloon sculpture. After doing the first number, the second one was much easier as I knew what I needed to do. Without further ado, check out our tutorial on how to make your own 5 ft mosaic balloon number sculpture.
Don’t forget to check out how to make a mosaic balloon number stand, fringe backdrop, and balloon garland.
How Many Balloons Does It Take
The amount of balloons will vary. It will depend on how many numbers or letters you have. For my project I used roughly 60 balloons for the number 12. My suggestion is to purchase more balloons that you think you’ll need and return what you didn’t use.
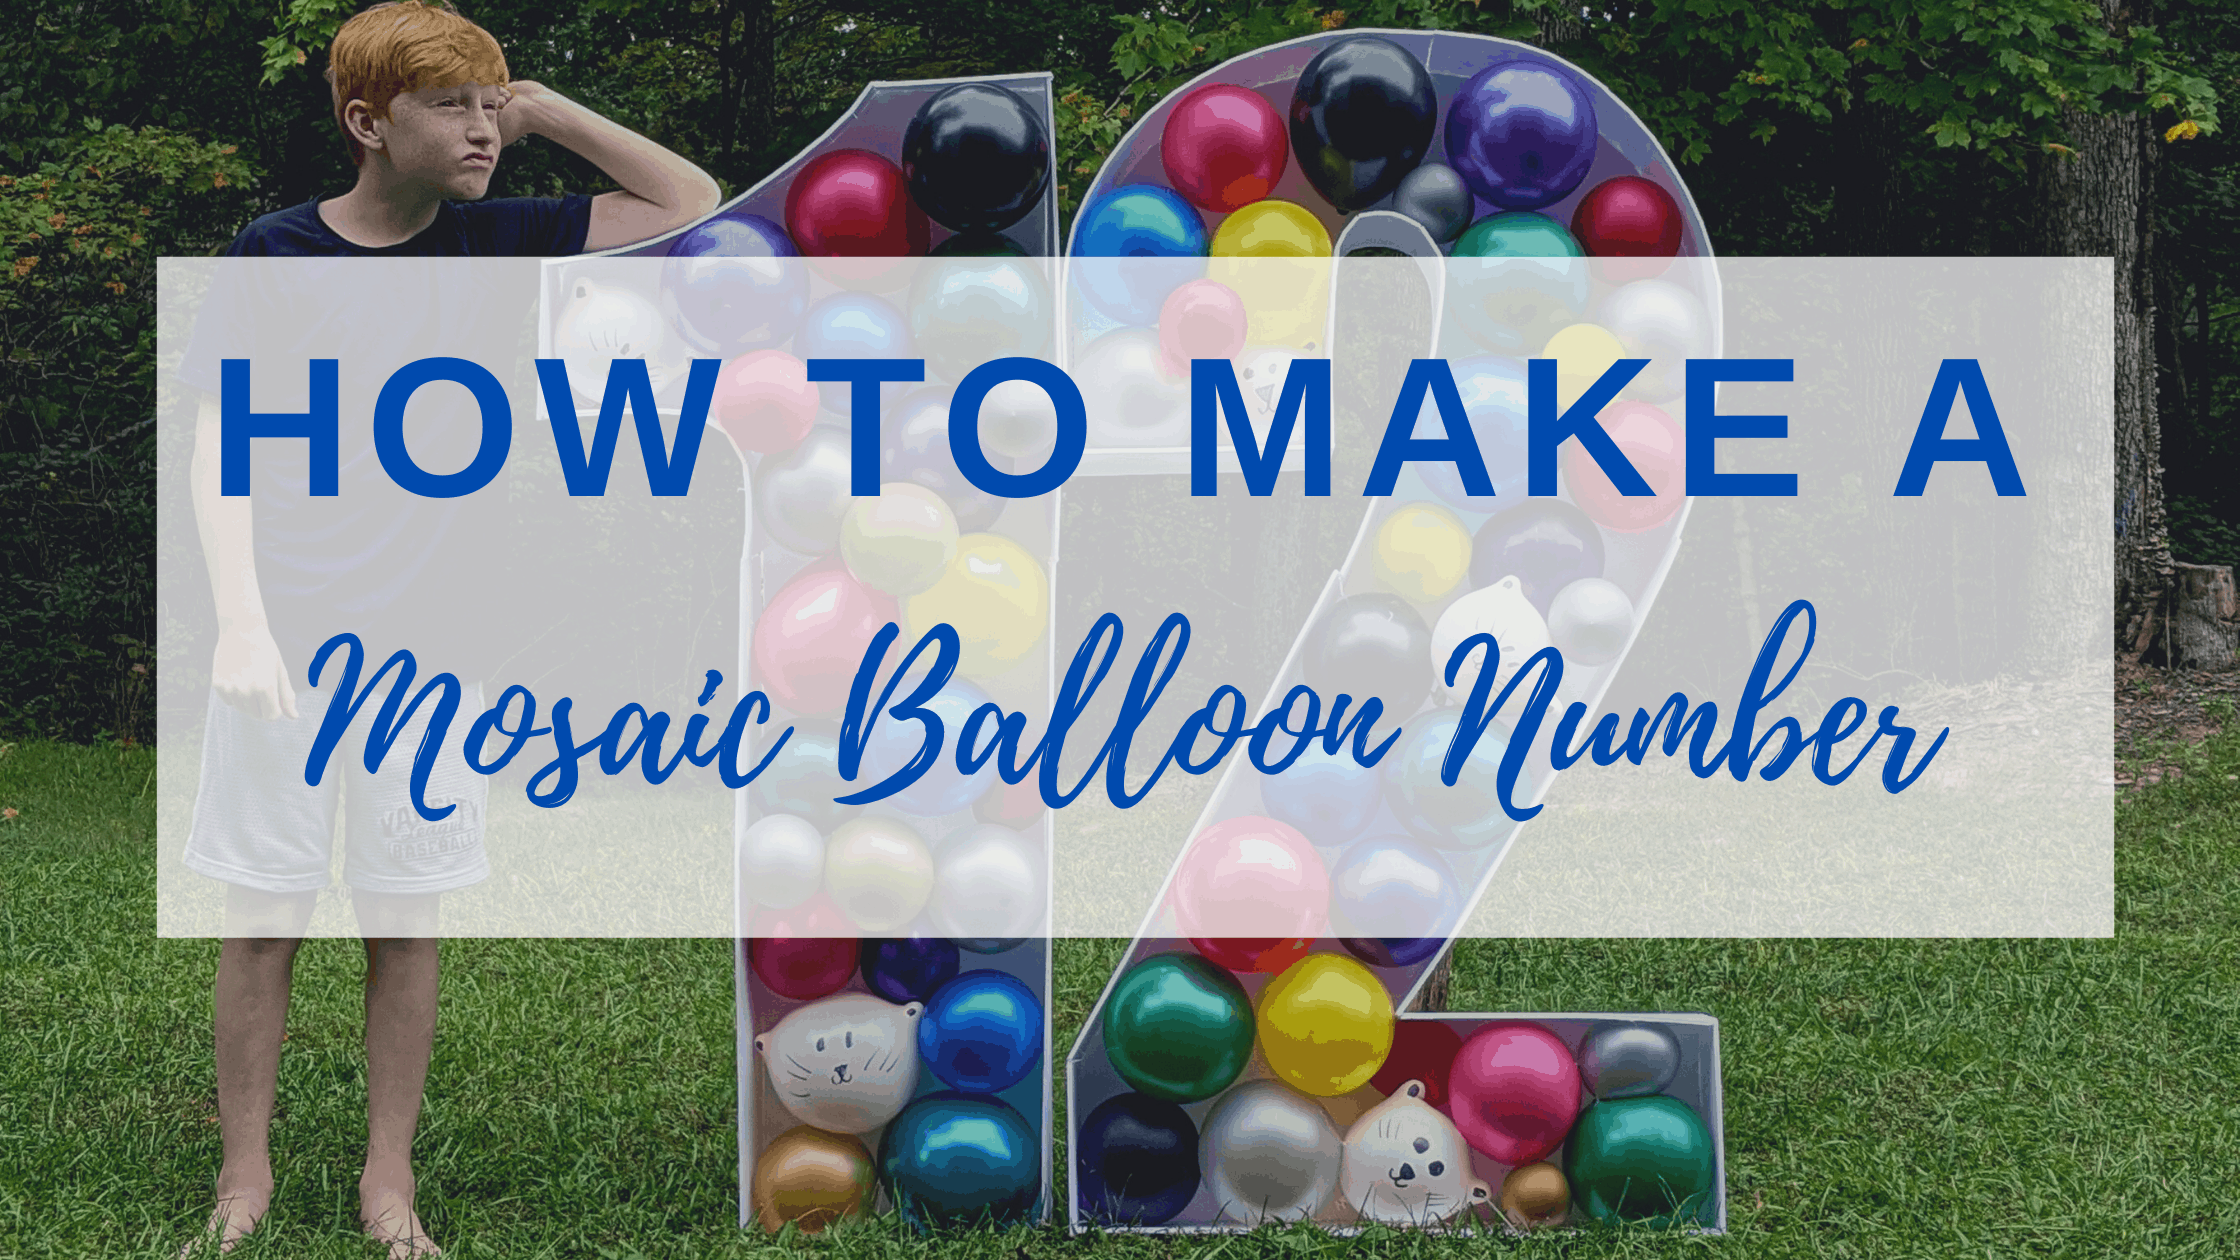
How to Make A Mosaic Balloon Number Sculpture
Disclaimer: We are Amazon associates which means we earn a commission if you purchase through our Amazon links. At no extra cost to you. Our commission is super tiny, so buy local if you can, but if you can’t we appreciate the pennies.
Following Photos Via Pinterest


Materials Needed For the Balloon Number Sculpture
- Low Temp Glue Gun or Glue Dots
- Latex Balloons of different sizes – 5” to 12”
- Packing Tape and Regular Tape
- 6 Foam Boards
- Ruler
- Scissors
- Hand Pump
- Exacto Knife
Step 1: Print and Assemble Your Free Mosaic Number Template
First of all you’ll want to download one of the free mosaic number templates below. Just click on the link and it will take you to the file.
Get the 3 and 8 templates in our other tutorial here.
How Do I Print Large Numbers?
Once you download these templates, open them up in Adobe Acrobat. This program is a free download if you don’t already have it. When printing your template in Adobe Acrobat select the the poster option; change the tile scale to 500% and overlap to 0; select grayscale to save on ink; and print. The preview window will show you how many sheets will be printed and how to line them up.
Next lay out all of the pages to your printed template. You can double check the printing preview window in Adobe again to make sure you’ve lined all the papers correctly. Once it is in the correct order, start taping these papers together to create the mosaic number template. When it is all taped together, you will want to cut out the number. Now your template will be ready to use.
Step 2: Tape The Foam Boards Together

6 Foam Boards are typically used to create a balloon number sculpture. I purchased my foam boards from the Dollar Store, but you can find foam boards at any craft store, Walmart, or Amazon.
Tape 3 20×30 boards together with packing tape. Flip over to tape the other side.
Step 3: Cut Your Balloon Number Sculpture & Side Pieces

Now that the foam boards are taped together, take your template and place it on your taped foam boards. Trace the number template onto the foam boards. Remove the template and use a box cutter to cut the number out.
After you’ve cut out your number, you will need to make the 6” side pieces. Using your ruler, measure out 6” the length of the foam board and cut. You can use the first side you cut as a template to make more 6” side pieces. You should be able to get 3 sides out of 1 foam board.
For rounded edges lightly score the foam board about an 1” apart. You can use your ruler as a guide to help you score straight lines. Gently press the foam board to open the scored lines

Step 4: Assemble The Balloon Number Sculpture
Use a hot glue gun to attach the sides to the number. Add glue to the edge of the number to attach the sides.
Measure and cut the edges to completely surround your number.

Step 5: Fill up Balloons & Create a Mosaic Look

Using your hand pump, fill up the balloons. You will want to have various sizes to create a beautiful mosaic look. I don’t fill them up all the way. 1, 2, or 3 pumps for the 5” balloons. To make the color even squeeze the balloon and twist the top before tying.
Once you have filled all your balloons up, use a low heat glue gun or glue dots to attach the balloons to the balloon number sculpture. Place a drop of glue in between balloons to keep them together and in place.
Keep attached balloons until you have filled up the balloon number sculpture and have achieved the look you are looking for.
Finally sit back and look at what you’ve accomplished. If you need another number, repeat the process again.
Pinterest Pin for Mosaic Balloon Number