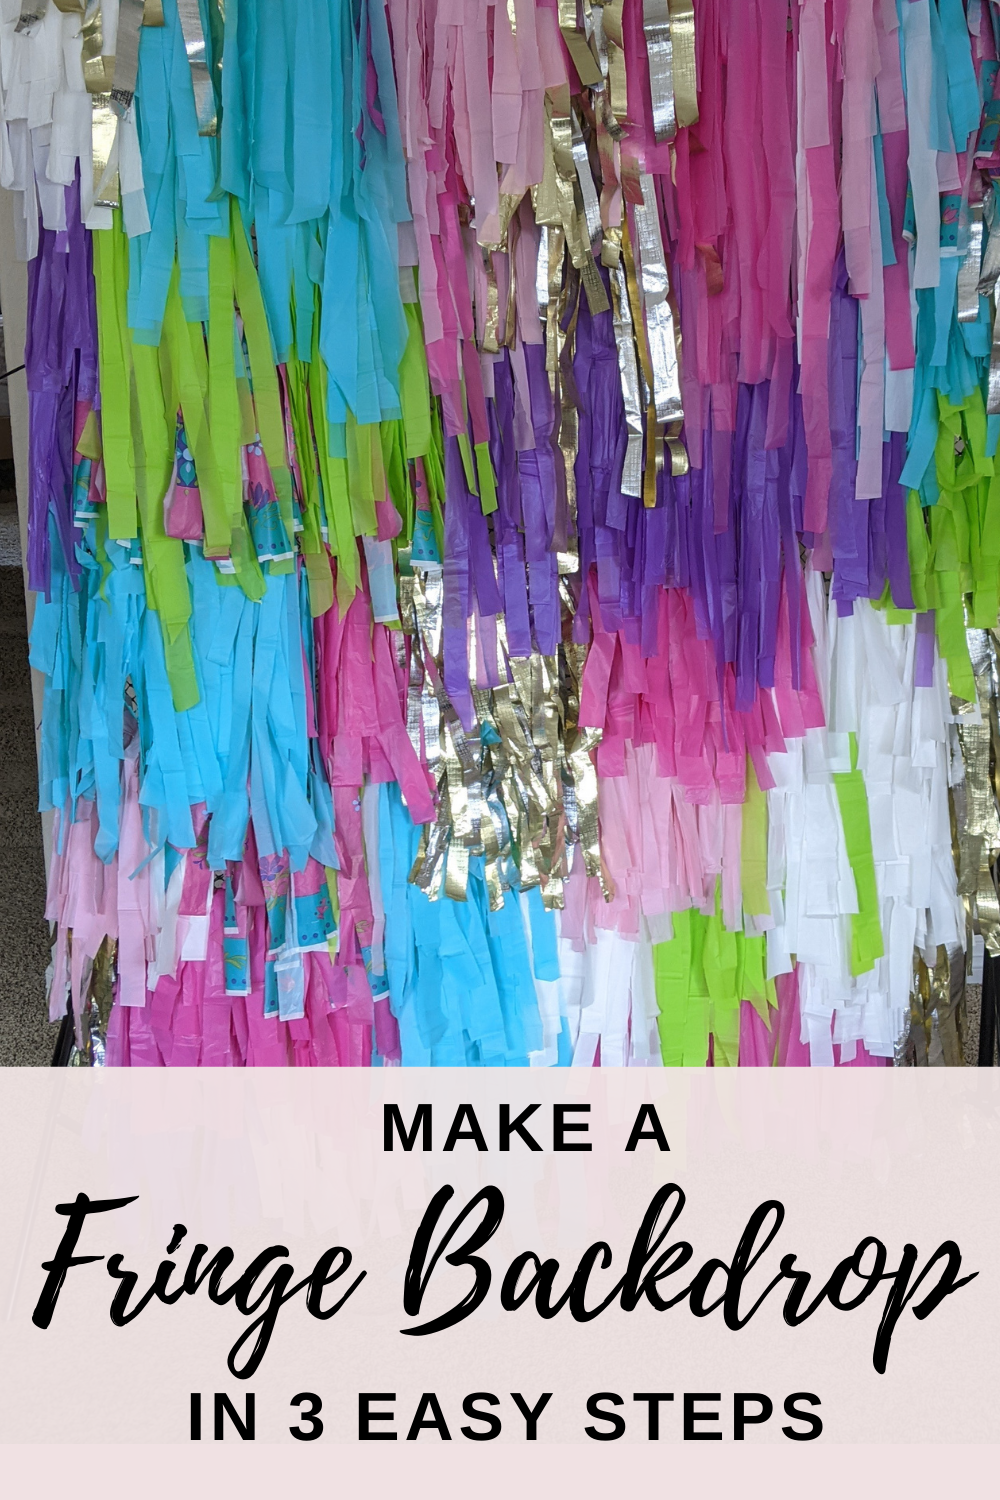
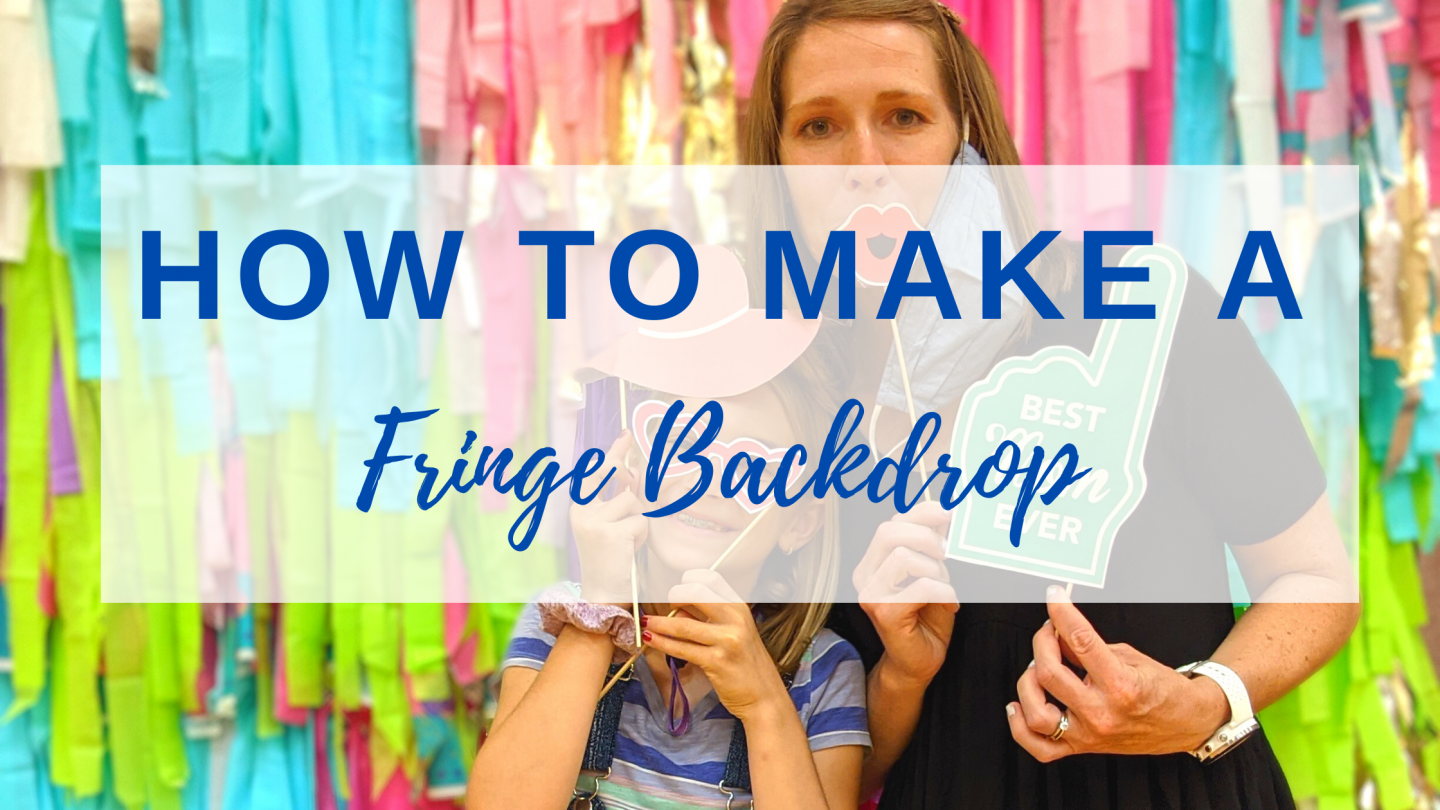
Tassel backdrops for photo-ops are just so fun. I am loving all these fringe party backdrops. A fringe wall backdrop is the best way to add that special detail you were missing to any event. Whether you’re looking for a full wall or just a small section, its a great way to decorate your space for a party. Plus, its all done in just a few easy steps. Check out this tutorial on a how to make a tablecloth fringe backdrop.
This DIY project for a fringe backdrop, streamer backdrop, or tassel backdrop is inexpensive and not too difficult to create. I will be honest, it is VERY time consuming. However, with a little prep and a few extra hands I promise this very customizable piece will be the hit of your event!
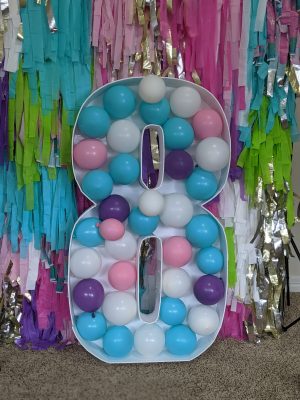
Be sure to check out our other posts on how to make a balloon wall backdrop and how to make giant mosaic balloon numbers
Easy DIY Fringe Party Backdrop
Like I said, creating a fringe backdrop isn’t that expensive and is very easy. You only need a few things to get started. I’ll linked all these items to Amazon, but you can get all of them locally if needed. Please note, you can either use cut plastic tablecloths or you can use streamers.
When hanging up your streamer backdrop/fringe backdrop you can either put the fringe backdrop wall directly on the wall with command hooks or you can use a backdrop frame and zip ties. For this tutorial I used the backdrop frame and zip ties.

Items Needed to Make a Tablecloth Fringe Photo Backdrop Wall
Plastic Tablecloths or Streamers in your theme colors. I would suggest having at least 3 different colors.
Scissors
Measuring tape
3m Command hooks if you are hooking your fringe backdrop directly to your wall.
Backdrop Frame (optional) I use a backdrop frame, but you could do this using the command hooks and place on a wall
Zip Ties You’ll need this if you want to tie the plastic fencing together.
How to Make a Fringe Tablecloth Backdrop
1. Cut your table cloth into strips
Begin by using your measuring tape and cutting your table cloths into strips. You will want three different length of strips. You will need long strips (about 8′ long), some medium strips (about 6′ long), and some short strips (about 4′ long). This will give your fringe backdrop some fun dimension. For my backdrop I used around 8 tablecloths from the dollar store.
If you decided to use streamers, you’ll want to do the same thing with having three different lengths. Measure it out and cut.
2. Plastic Fencing
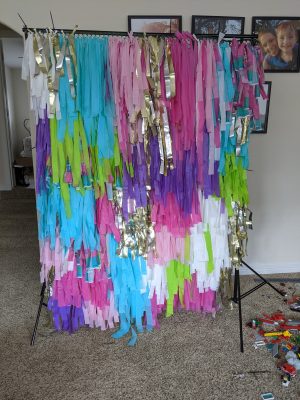
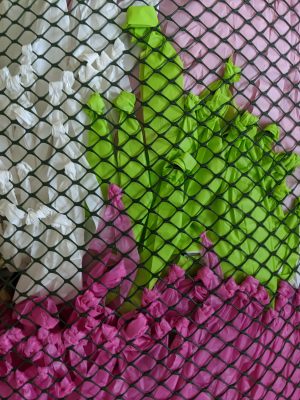
Now that all of your strips are cut, you’re ready to make your easy fringe wall. You’ll need to cut your plastic fencing to the desired length. Attach it to either the photography frame with your zip ties (like I did in the above picture) or attach it to the wall using the command hooks. If you think it will be easier to attach the strips on the floor you can leave it on the floor and attach it to the frame or wall on the last step.
For the fringe backdrop I made above I created a 8×7′ backdrop using two pieces stacked on top of each other. Leave some extra material on each end so you can adjust if needed. You can put them together by using the zip ties.
3. Assemble Your Fringe Backdrop
Now that your plastic fencing is together, you’re ready to start threading the strips into the fencing. Start at the bottom of your backdrop and work your way up.
Start my folding one of the long strips of table cloth in half and threading the folded end through one of the holes of the fencing to create a loop. Then pull the ends of the table cloth through the loop to make a cow hitch knot. Repeat to make a section of long table cloth pieces at the bottom.
Then move on up to the middle of the fencing and add the medium length strips. Then at the top add the short strips to the very top row. Feel free to vary the location of the strips a bit to get different levels of fringe. Be sure to change colors of the plastic strips as you go along.
Spread out the strips and start filling in the spaces as you see necessary. The size variation will help you get the fringe look you’re looking for. There isn’t a set pattern, so use your creativity and fill in the spaces as you feel needed. Once you feel the entire fencing is covered up and the backdrop is thick, cut off an excess fencing.
So off your hard work! If you didn’t already to so, attached your fringe wall to the frame or wall. This project took me a couple of days to do. My kids also came to help me tie the strips to the fencing. It was time consuming but totally worth it. My guests really enjoyed the backdrop. Your guests are going to love taking photos in front of this fun pinata fringe style backdrop too.
