A circle balloon garland hoop or as others may call it a balloon circle arch is an easy way to make a big impact for any kind of party! I love this variation of a balloon garland. I think the round background stand gives it an elegant look. The best part about balloon garland hoops are they’re actually easy to make especially if you’ve made a balloon garland before. Check out this tutorial on how to make a balloon circle arch backdrop.
Also check out how to make a Giant Mosaic Balloon Number or Balloon Garlands to add more fun to your party.
Materials Needed For the Circle Balloon Hoop Garland
- Low Temp Glue Gun or Glue Dots
- Latex Balloons of different sizes – 5” to 12”
- Scissors
- Hand Pump or Electric Balloon Pump
- Balloon Circle Arch Hoop
- fishing line
- You can also get a circle balloon hoop garland kit
How Many Balloons Do You Need?
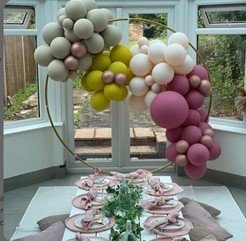
The number of balloon you need depends how much of the circle you want to cover and if you want a train along the side of your hoop. For this project, I typically use around 100-120 balloons. It is always better to have too many balloons than not enough. I would plan on getting between 100-150 balloons.
What is great about making a balloon garland with a hoop is you can use a balloon garland kit and make your own creation by using a metal balloon hoop.
For your reference this circle balloon hoop garland kit from Etsy has 101 pieces which includes the following:
- Apricot (5inch-10, 10inch-10, 12inch-5)
- Peach (5inch-10, 10inch-10, 12inch-5)
- Ginger( 10inch-10, 12inch-5)
- Hot Pink (5inch-10, 10inch-10, 12inch-5,18inch-1)
- Chrome Rose Gold (10inch-10)
How to Make a Balloon Circle Arch
Go all-out for your next party with a DIY balloon garland. Now that you have all your supplies, it is time to make this garland. We’ll show you how to make a balloon garland in under an hour—it’s that simple!
Step 1: Inflate your Balloons
First thing’s first: you need to inflate all of your balloons using your hand or electric pump. For the best effect, inflate them to various sizes – some small, some medium and some large. We found that blowing the balloons only two-thirds of the way up made it easier to attach – be careful not to over-inflate. Also, it’s much easier to inflate your balloons before you start than to have to keep stopping to blow them up!
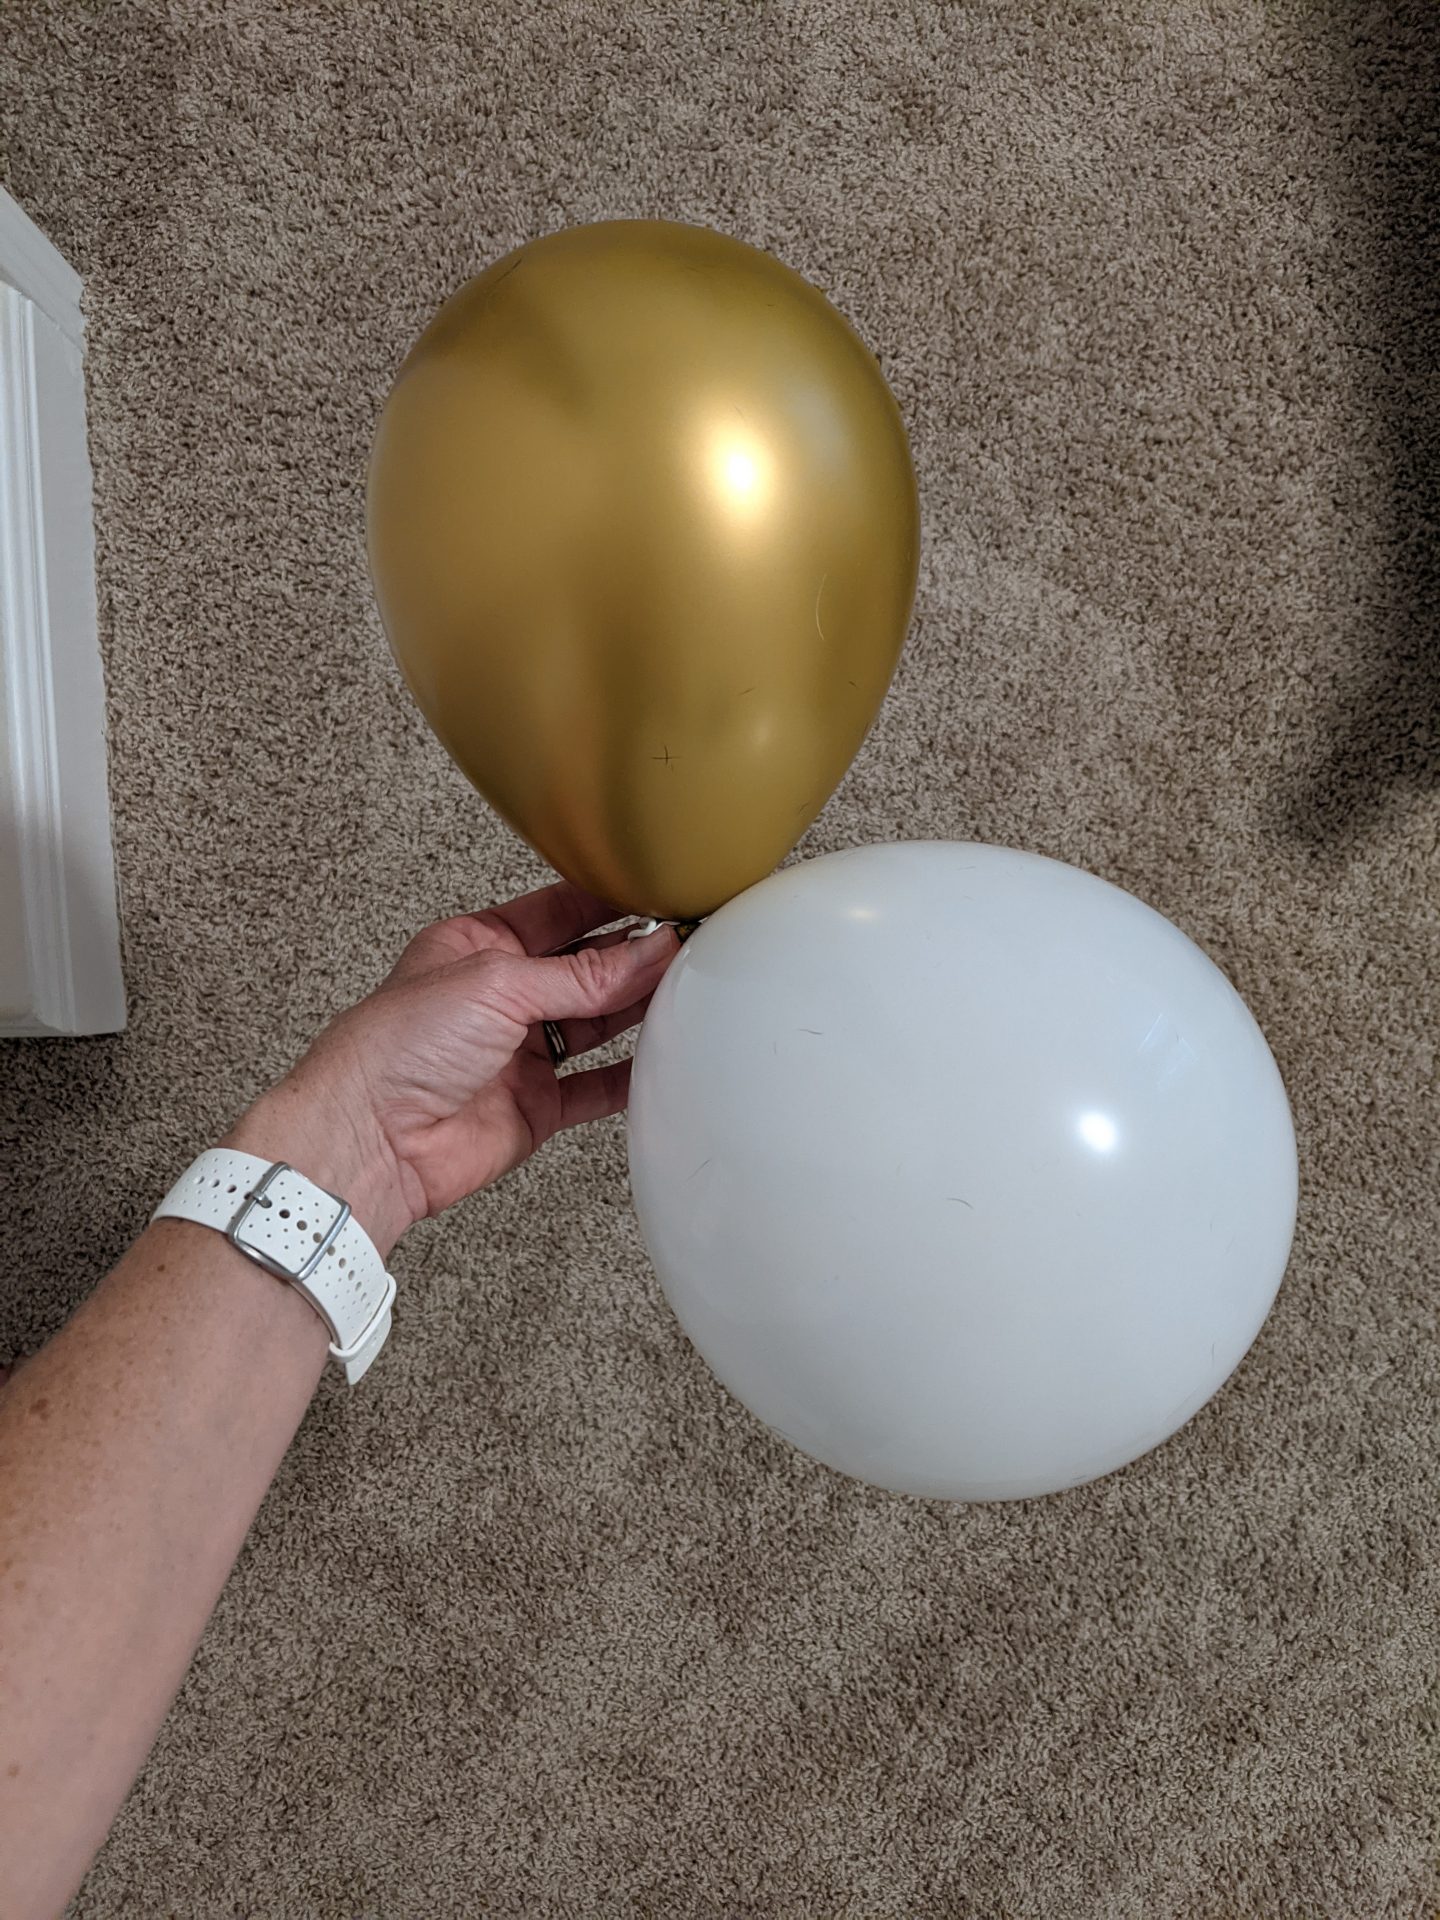
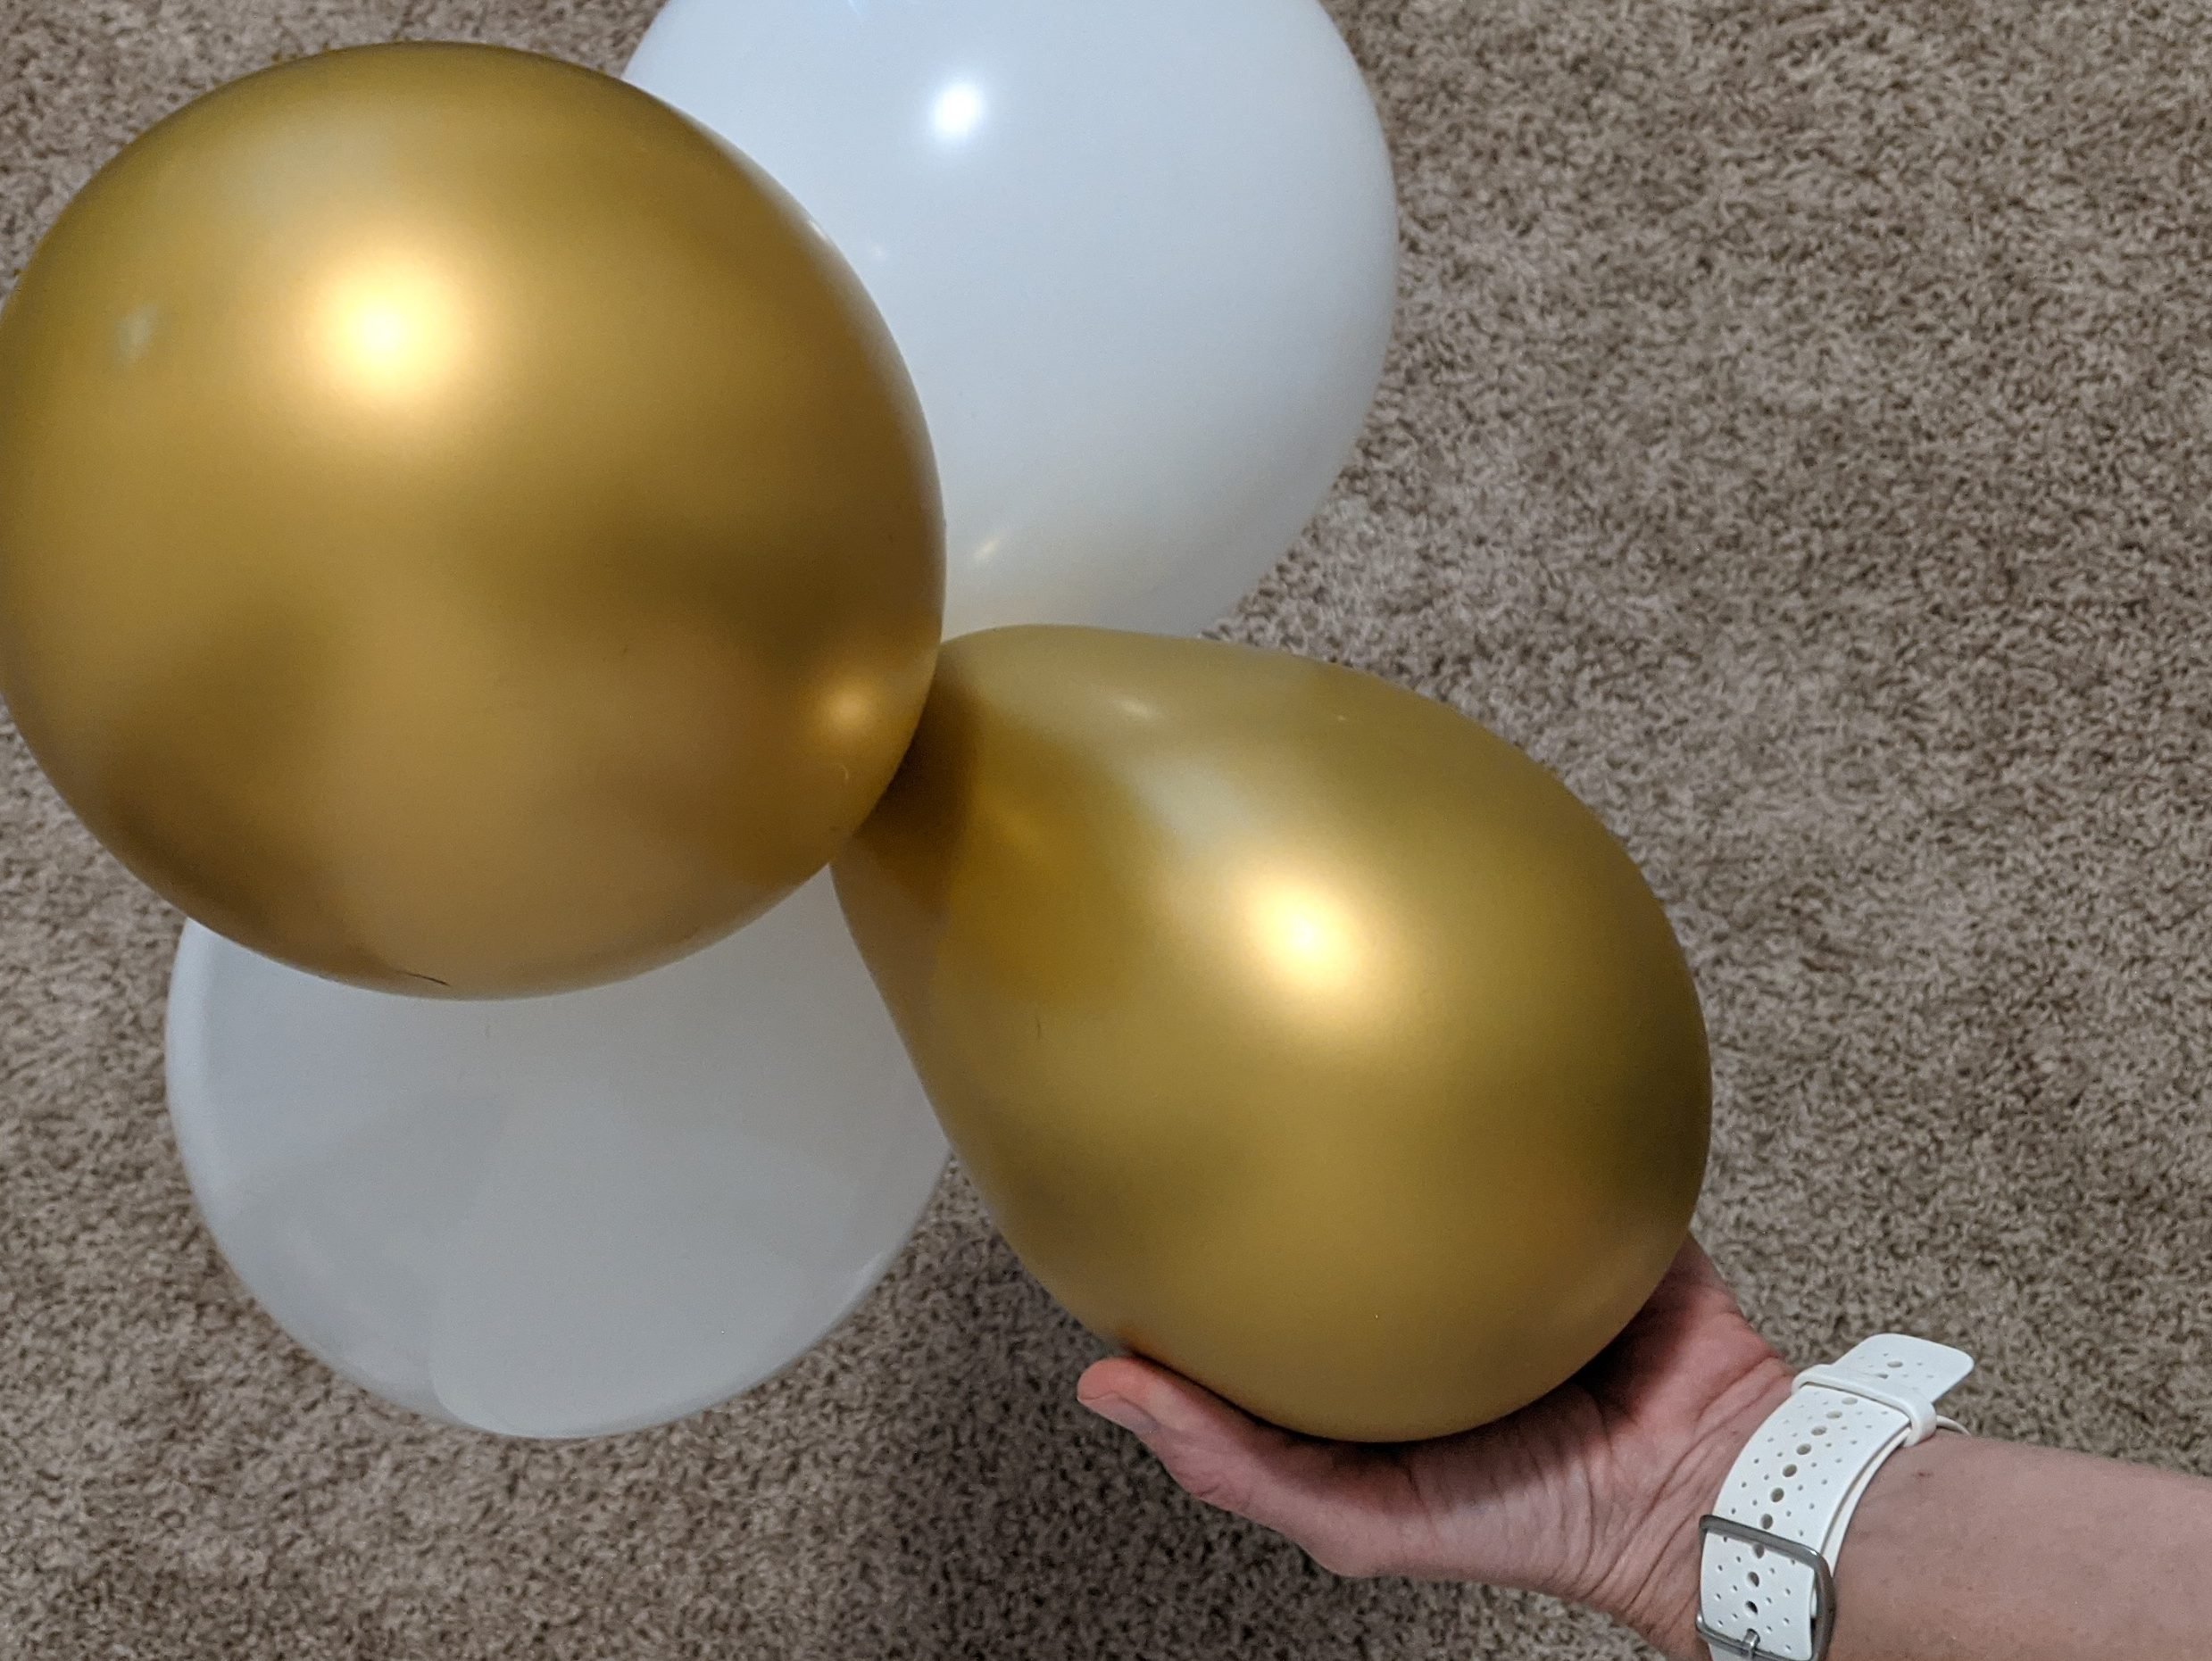
When using the metal frame, you’ll want to tie two balloons together to create a cluster. Next twist two clusters together to make a quad cluster of 4 balloons.
If you plan on adding flowers or greenery keep the balloons small enough that the added flowers or greenery don’t get lost.
Step 2: Put Together Your Circle Frame
Put your frame together according to the directions. It is easier to assemble the circle balloon garland in the spot you want it to be. This way you don’t have to move it after you’ve put it together.
Don’t have a metal circle frame? You can get one from Amazon here. You can always try to make your own with hula hoops or attached the garland to the wall in a circle shape.
Step 3: Attach balloons
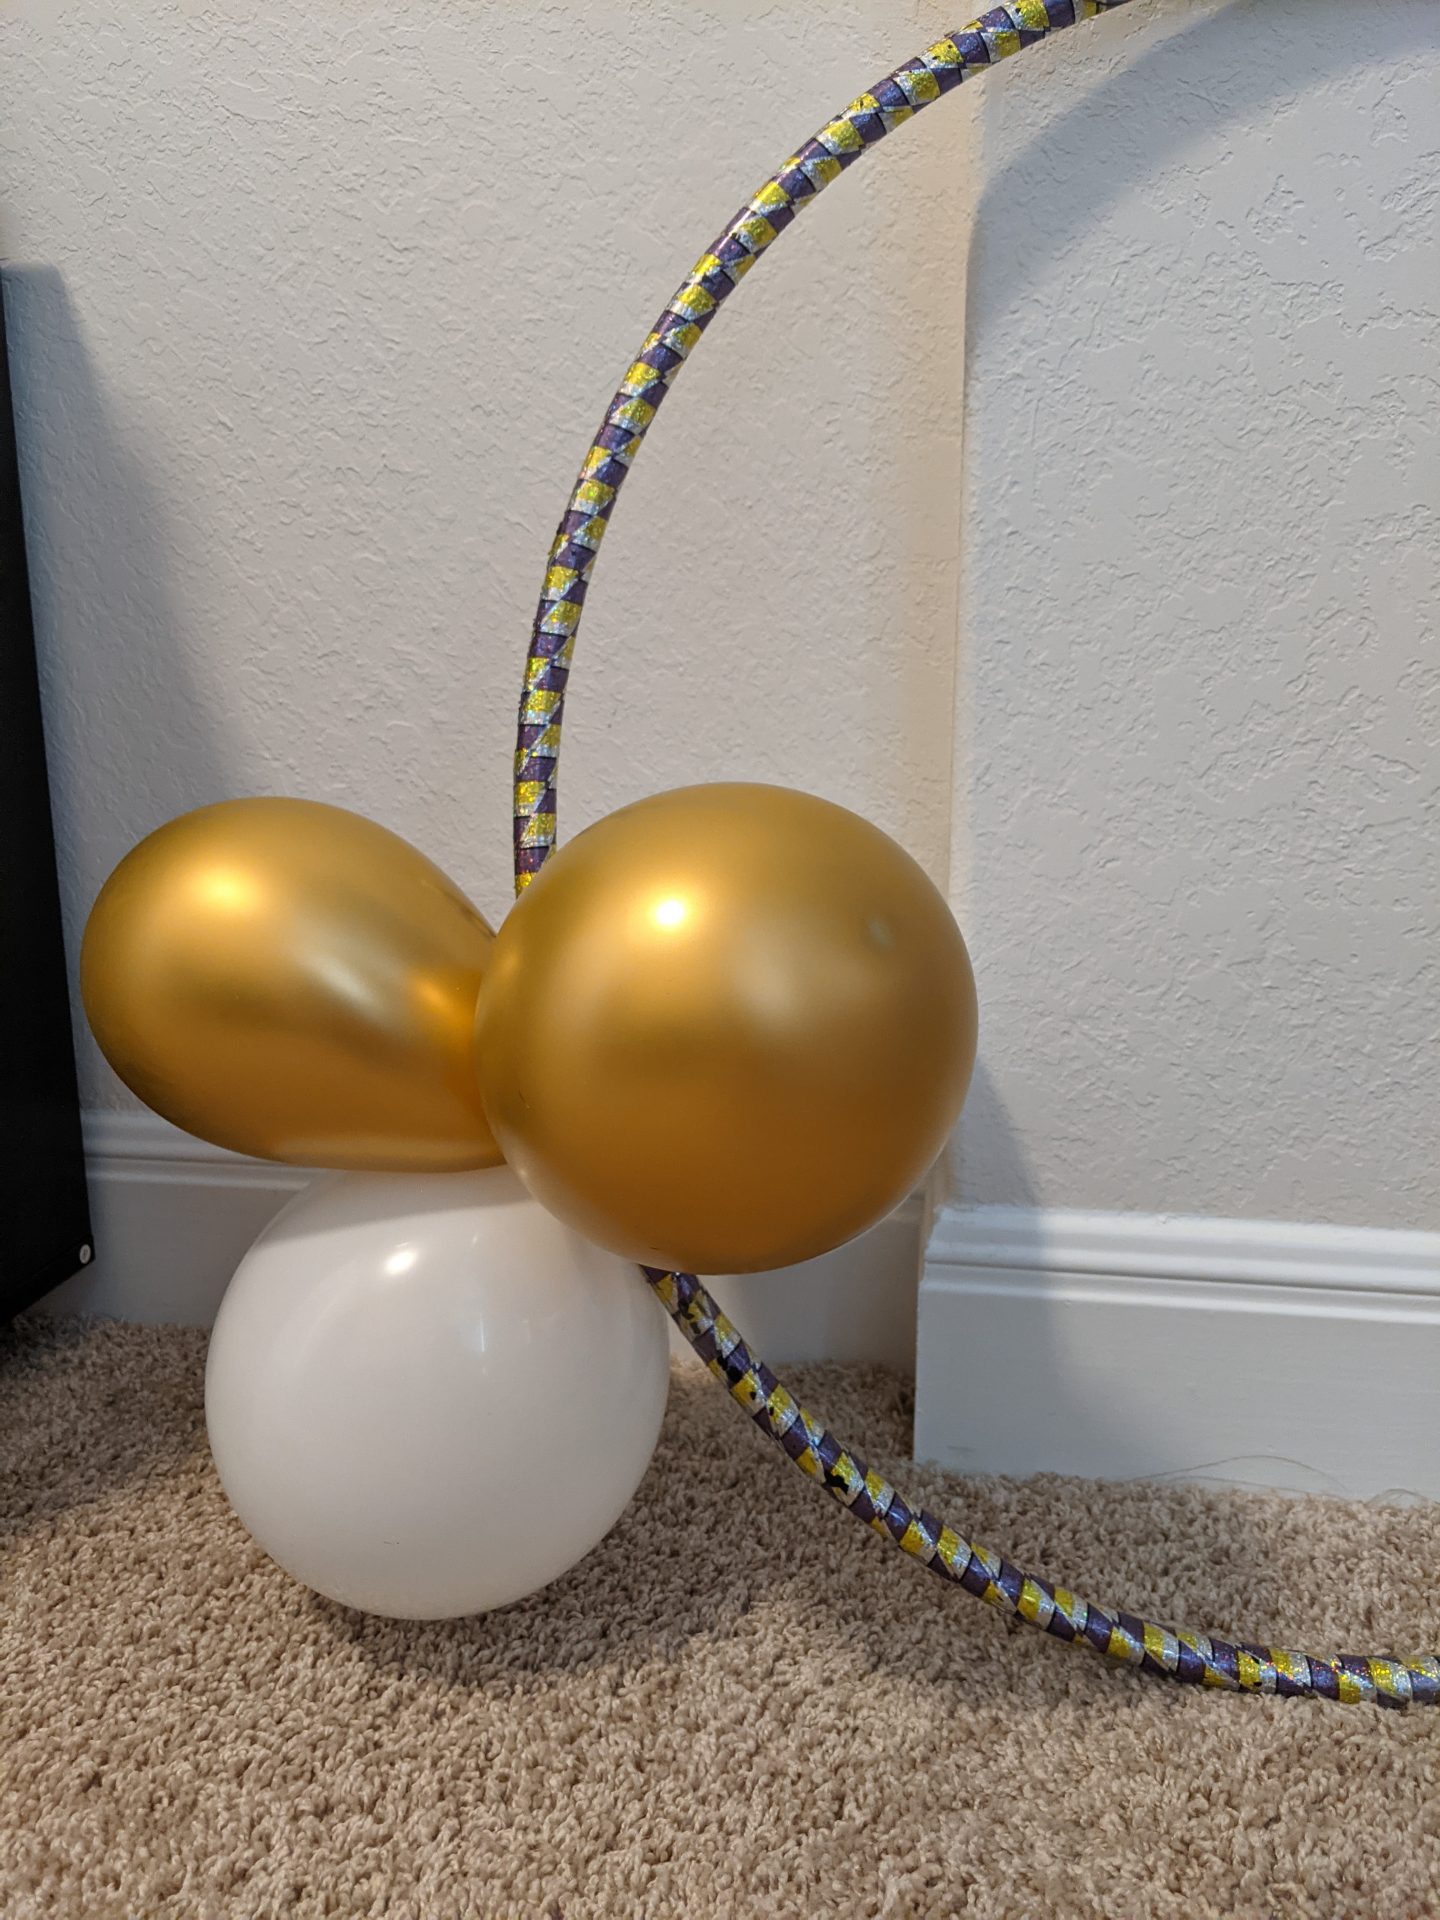
The next step is attaching your quad clusters to the circle frame to complete the balloon circle arch. Take your first quad cluster and get the center of the cluster close to the frame. You’ll take one balloon and cross it, and twist over the frame securing it to the frame.
Continue this process with all of your quad balloon clusters. Make sure you push each quad cluster close to the other clusters. You can them to overlap. Be sure to leave out about 5-10 of the smaller balloons for filling in gaps. When the circle hoop is full, it’s time to add the embellishments!
If you don’t want to twist the balloons over the metal frame, you can also use fishing line to tie the quad balloon clusters to the frame. Either method will get you the results you are looking for.
Step 4: Fill in holes
Once it’s up, use balloon glue dots to attach leftover balloons into spaces with holes. Make sure you don’t try to pull off the balloon after it’s set! I’ve done that a few times and it’s popped the balloon. Balloon glue dots can be a hassle to use. Try to put one glue dot near the knot. Attach this toward the inside of balloon so you won’t see the knot sticking out.
This is also the time to add in your decorative flowers, greenery, or other decor to make your garland pop!
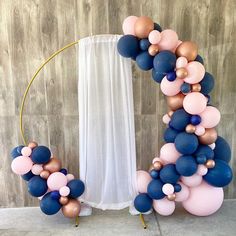
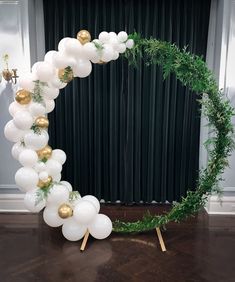
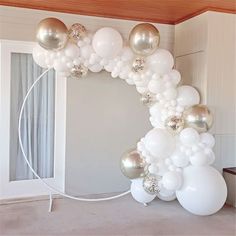
Balloon Circle Arch Frequently Asked Questions
How to Make a Balloon Circle Arch Without a Frame?
It is true. You can make a beautiful, easy balloon circle garland without a metal frame. You can use two hula hoops put together for a smaller circle balloon display. To get the color you want just spray paint it or use string to wrap around the hula hoop.
You can also attach the balloons in a circle and attach it to the wall just like you would in our balloon backdrop tutorial.
How Long Does a Balloon Circle Arch Last?
A garland lasts at least a week, so no need to stress yourself creating it day-of your party; it can totally be prepped days in advance.
Do You Need Helium for Balloon Circle Arch Garlands?
No, they don’t use any helium. That is what the balloon pump is for. A hoop balloon garland uses regular air.
What is the Best Type of String to Use?
If you are going to make a balloon garland using string, we suggest to use 0.5 mm Nylon line (also known as fishing line or monofilament) for this type of balloon arch and/or garland.
It is Hard To Make a Balloon Garland and Balloon Arch?
No, it is actually incredible simple. Hopefully this tutorial gives you all the help you’ll need to create a breathtaking DIY balloon arch garland
Color Combination Ideas for DIY Balloon Circle Garlands
Coordinate colors for a DIY party balloon circle arch or garland to match the theme of the party, or here are some other balloon arch color combo ideas for other events:
- a girl baby shower: pinks, peaches, whites, and golds
- a boy baby shower: shades of blue and white and silver for a boy
- a wedding shower: champagne, white, ivory, gold – super subtle and chic
